Maker Faire Rome
A series of installations, exhibits and works on show at the European Maker Faire in Rome through the years.
Customer:
Myself and Arduino
Challenge:
Every year, from 2013, Maker Faire Rome was the event for makers, creative minds and companies related this world. As a Maker and as a member of the Arduino Team, I was there with a variety of initiatives and installations showing my skills and my creativity.
Year:
2013-2018
My natural environment
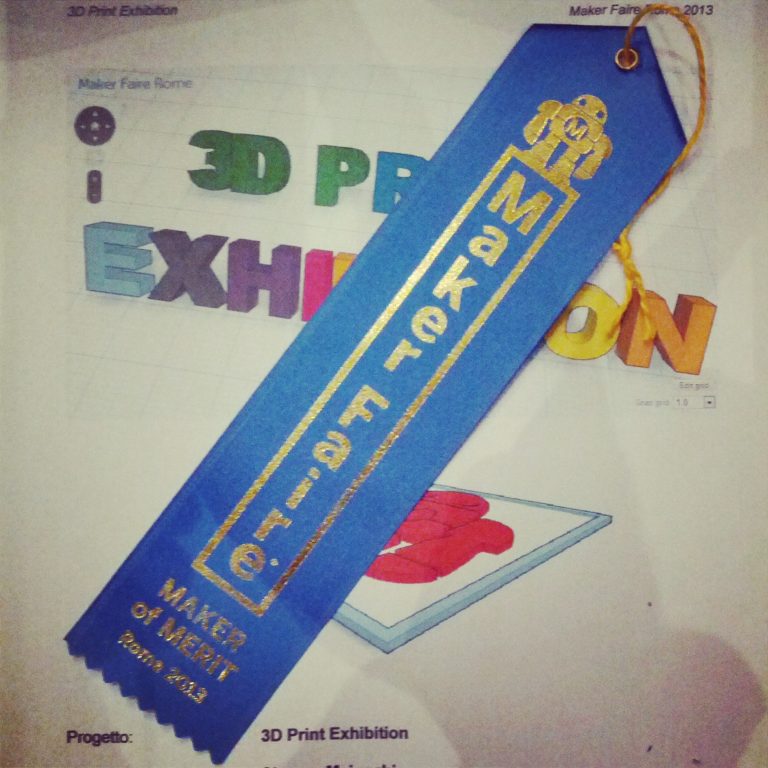
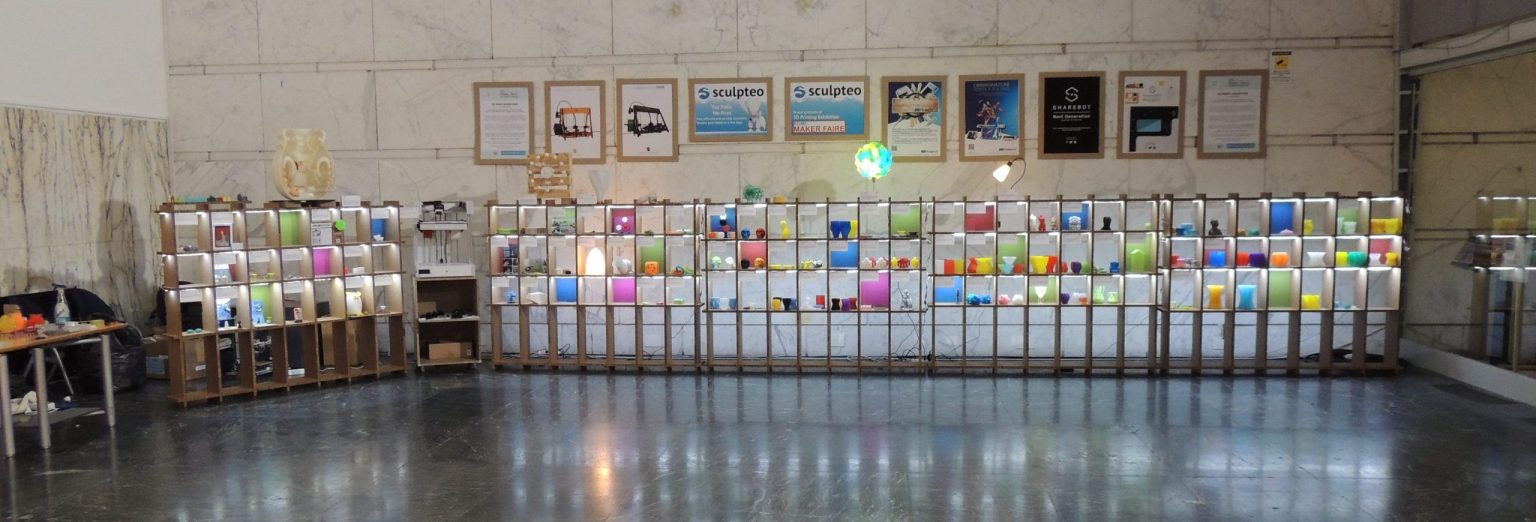
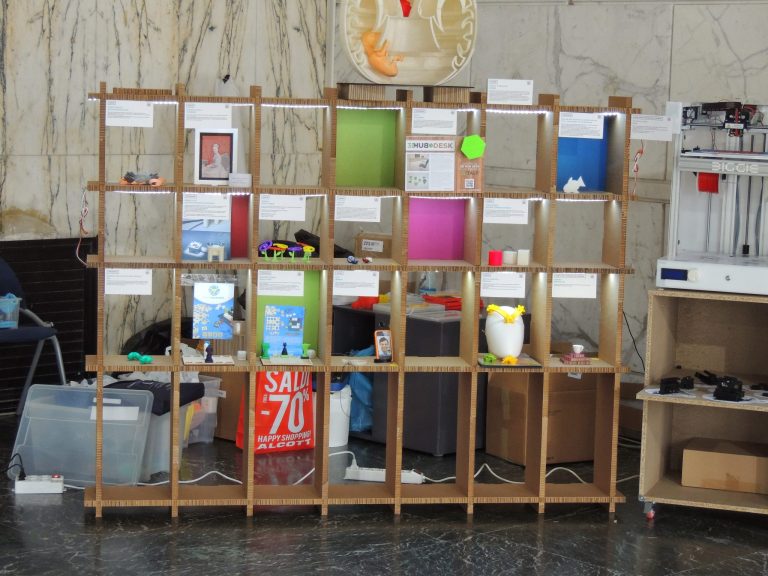
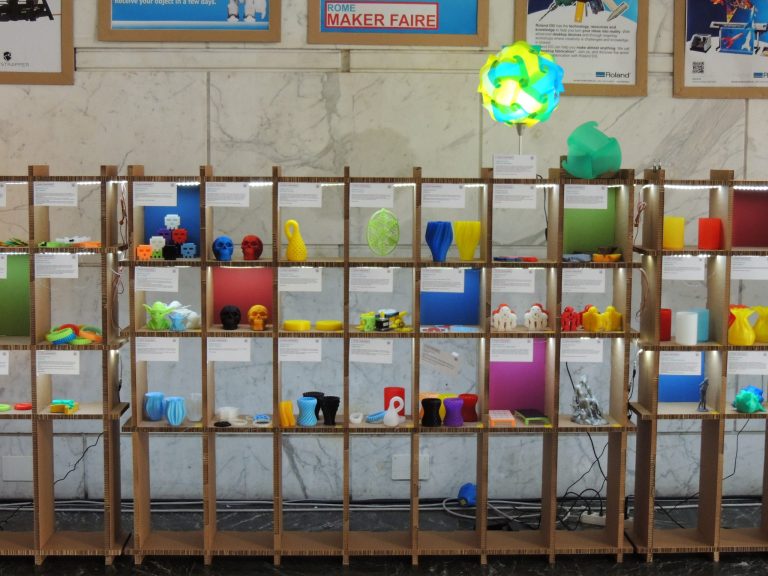
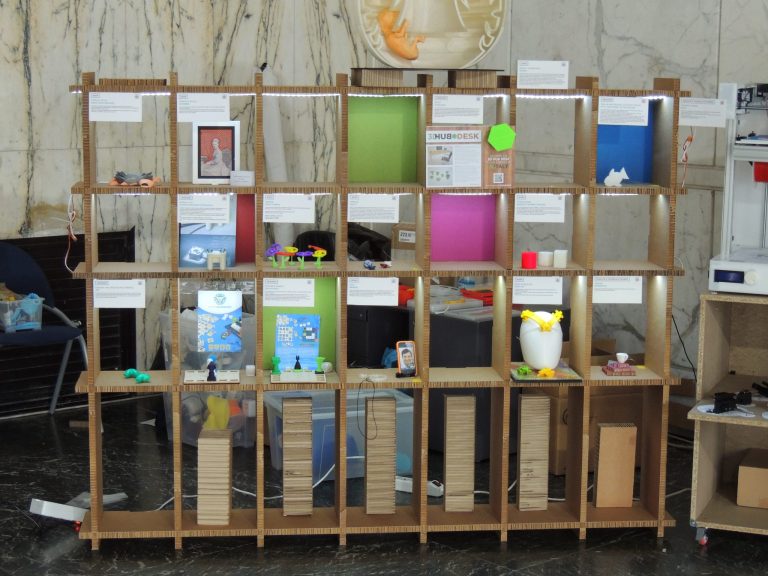
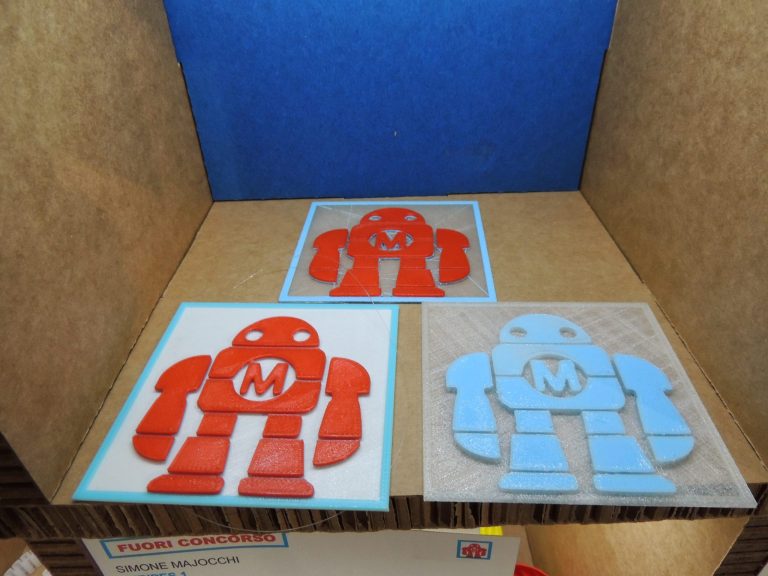
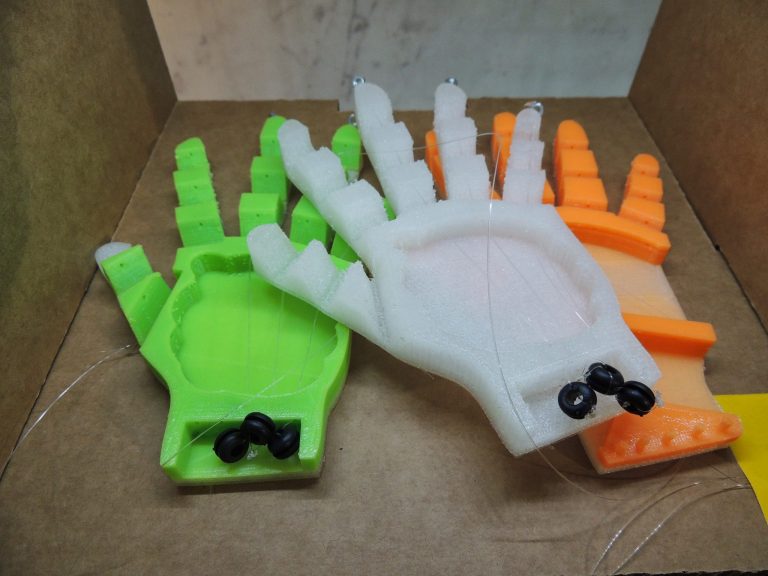
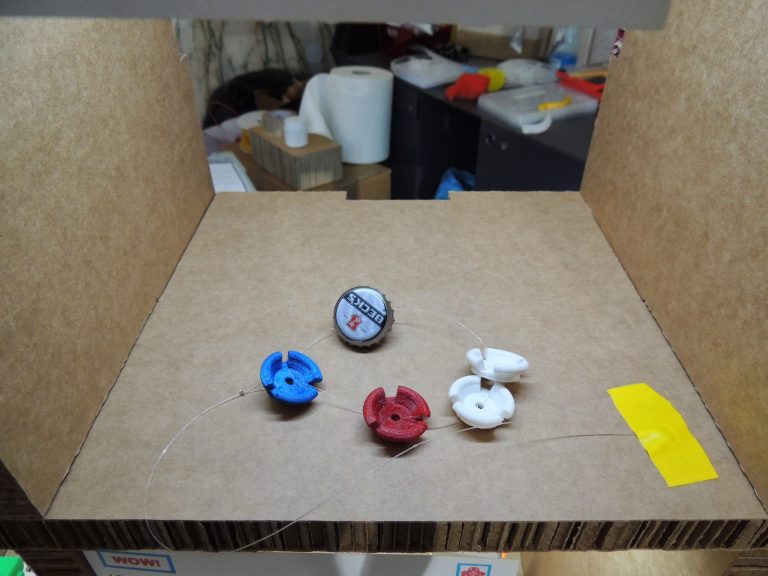
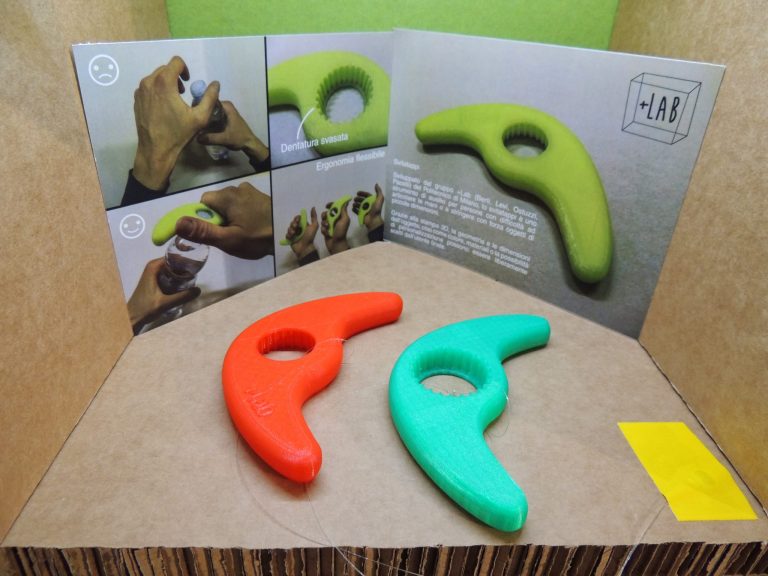
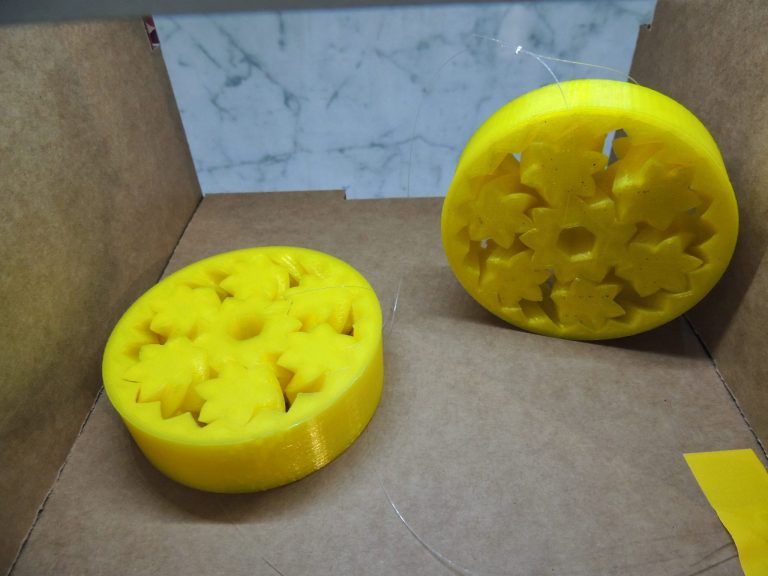
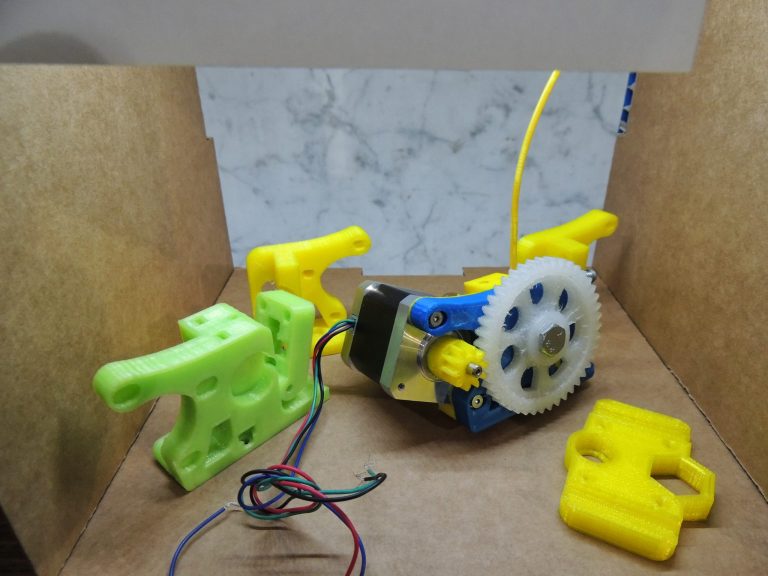
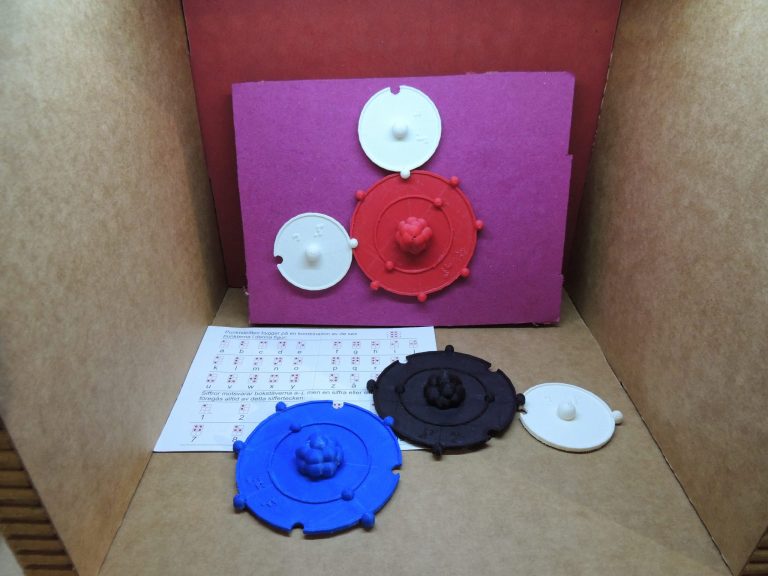
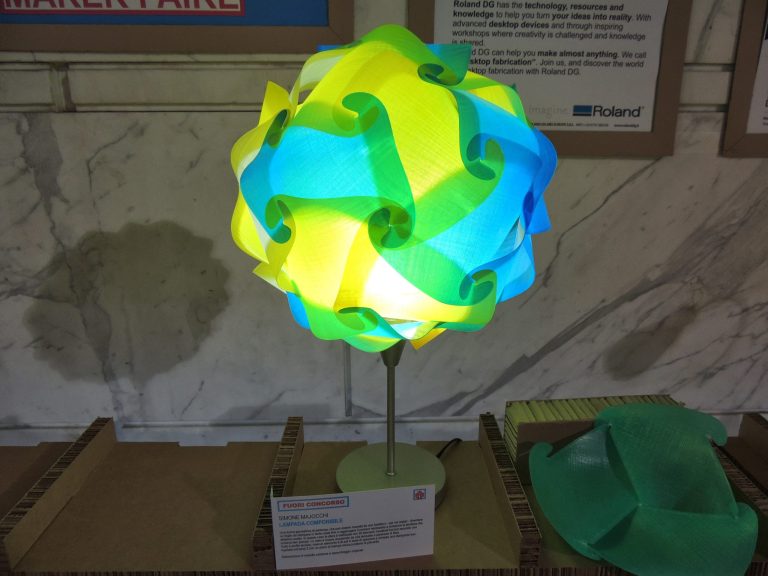
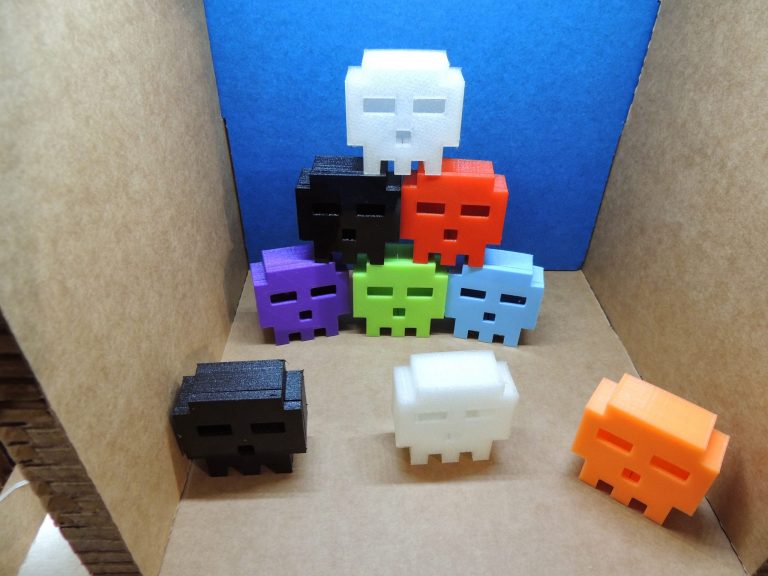
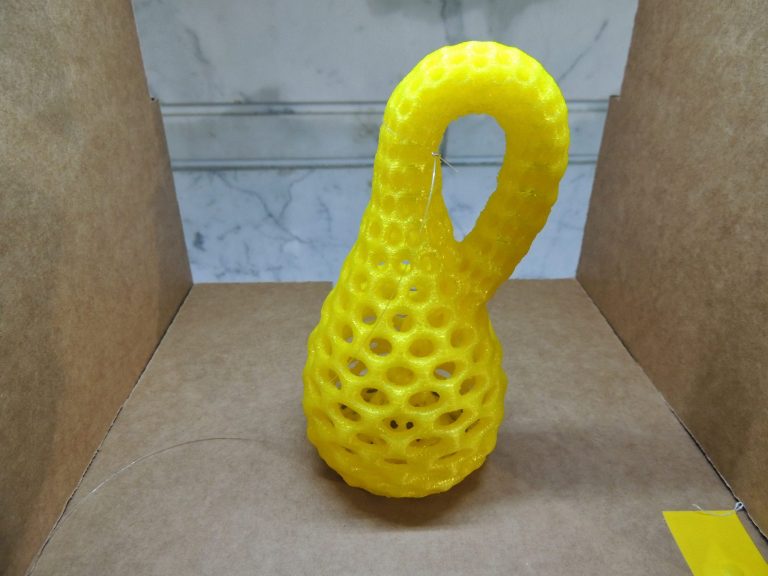
When the first Maker Faire was announced in Rome for October 2013, I was still a contributor at Elettronica In and the 3Drag project had been released by a few months. For me it was time to move on and I left the magazine, but I decided that 3D printing was my thing, so I proposed to the organisers the 3d Printing Exhibition. It was a contest open to the early 3D printers adopters and had several interesting prizes. To avoid a thin set of 3D prints on show, I decided to put my prints on show as well, giving to the visitors a better idea of what you can do with a 3D Printer. From the design of the cardboard stand to the physical assembling and lighting, tagging and placing of every single piece, I was basically totally on my own. In some hours of really hard work the day before the opening, I assembled everything and prepared something that was looking quite impressive, right at the entrance of the Maker Faire. The 3D Printing Exhibition was the very first thing that all the visitor would have seen. After my set up, they entered the booths area, where a lot of 3D printers were waiting for them. The beauty of this installation was how it allowed everyone to understand the potential of 3D printing before seeing tens of machines printing whistles and other simple stuff. My pieces and the ones submitted for the contest were complex, rich, multicolor, multimaterial ad sometimes really awesome. For sure many prints required many hours and were not something you can print in a show.
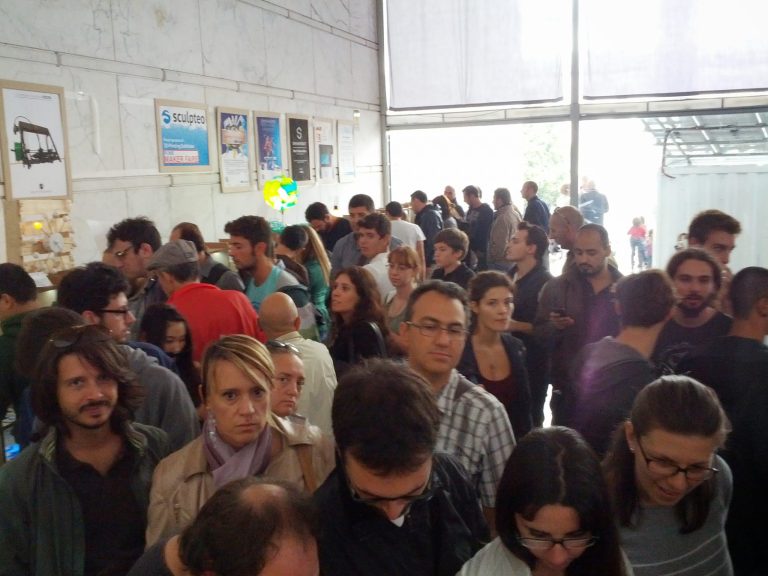
All the effort put in the set up, in the concept and the creation of memorable 3D prints paid off and the installation was literally swarmed by the visitors. I was explaining how the 3D printer works and I had a lot of little giveaways for the kids at my desk.
Being alone I was there for all the opening hours without a break and you can imagine that at the end of every day I was just able to walk to the hotel and rest.
If you look carefully at the pictures you can see that the pieces had some nylon wires attached to avoid that some piece could be misplaced or else and, sadly, someone found some pieces too interesting to put them back into their designated space. From time to time the whole structure suffered a “hit” and that was when someone just “tested” if the nylon wire. At the end of the fair around 25 pieces were missing.
I did not want the exhibition to disappear when the show was finished so I took pictures of every single piece and I created a catalogue that I made available as PDF just a few days after the end of Maker Faire Rome. It is still available HERE!
Call for makers
The experience made the first Maker Faire was really rewarding, but very tough as well. For the 2014 edition, I decided to be there just as a visitor, so I hang out with other fellow makers, enjoying the ability to go around all the exhibition pavilions. That year a lot of my contacts were present, showing their 3D printers and as the “3D printing Italian expert” I was welcome at all their booths.
The venue chosen was Auditorium Parco della Musica, a very nice place; some booths, however, were put under a tent constantly under the sun and without much air circulation. That year I was on my own for transport and accomodation.
2015 was for me a comeback as a maker: I became part of the Arduino Team a few months before that Maker Faire edition and I was asked to do something to put on display at the Arduino booth. That was when I created the Color Theremin V 1.0. You can read the full story about this project here.
2015 was also an “annus horribilis” for the Arduino Team, caught in the dreadful legal action about the name Arduino. Everything had to be branded as “Genuino” in EU countries to keep selling the boards. This forced me to change and add the Genuino brand almost everywhere in the website pages that were under my responsibility. A thing that was undone several years after, when all this was finally resolved and the trademark was again fully controlled and owned by the original company founded by Massimo Banzi (in the picture trying my Color Theremin).
From Art to Design
I skipped Maker Faire 2016 because I had other important projects going on and I wasn’t able to put energies in the design of some installation for Arduino. Nevertheless I visited the event to keep contacts and be part of the Makers movement as usual.
The next year, 2017, I was officially part of the Team for Maker Faire; my installations were part of the overall design of the booth and I had to be there during the booth assembly to put them in place.
Everything went smoothly and the two installation were much more minimalistic and precise, compared to the 2015 3D printed Color Theremin.
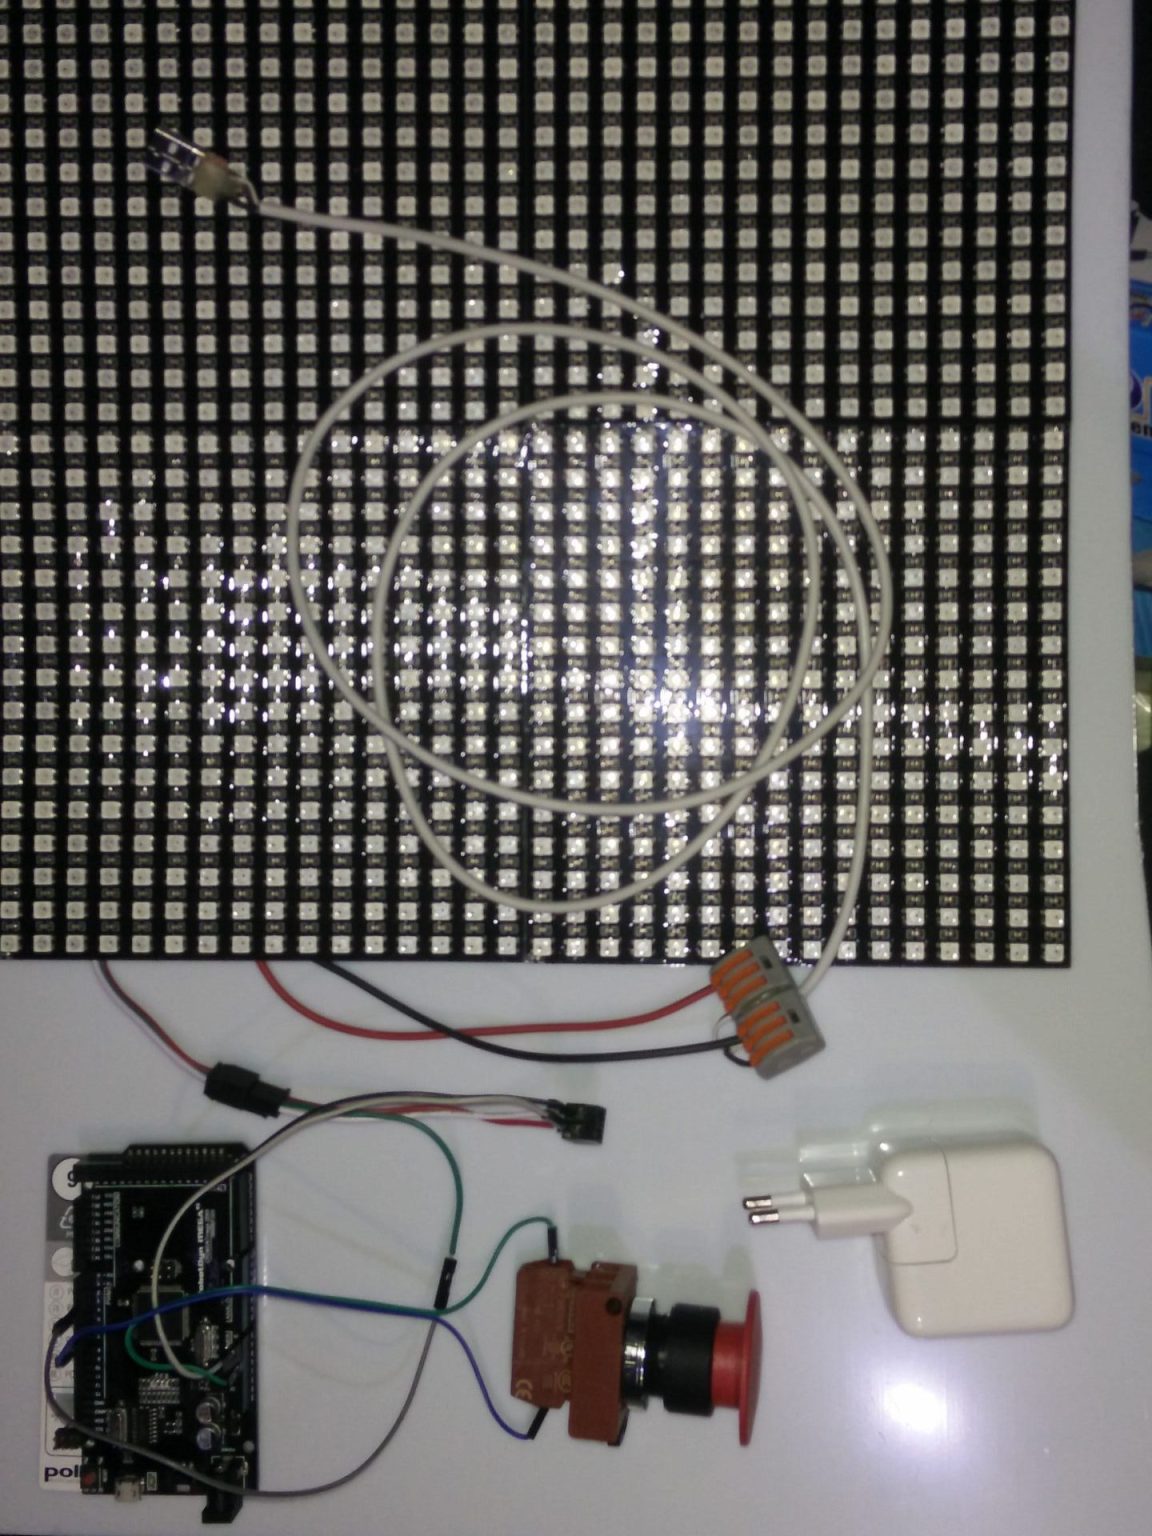
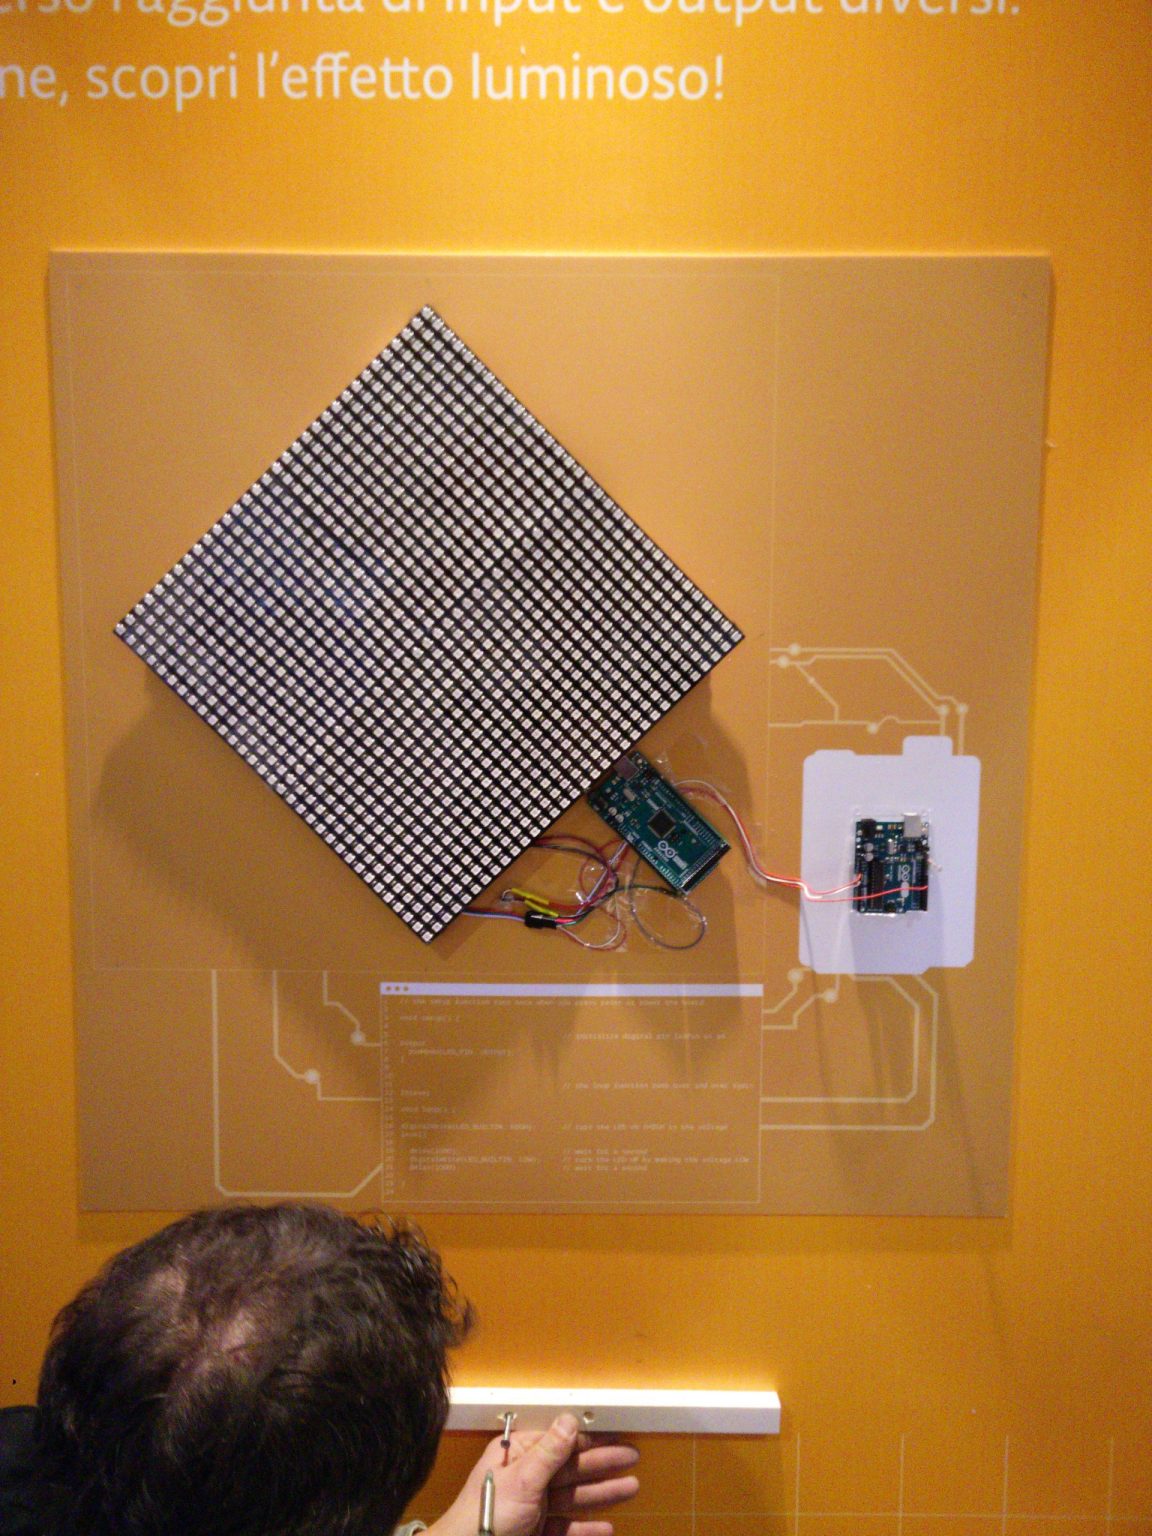
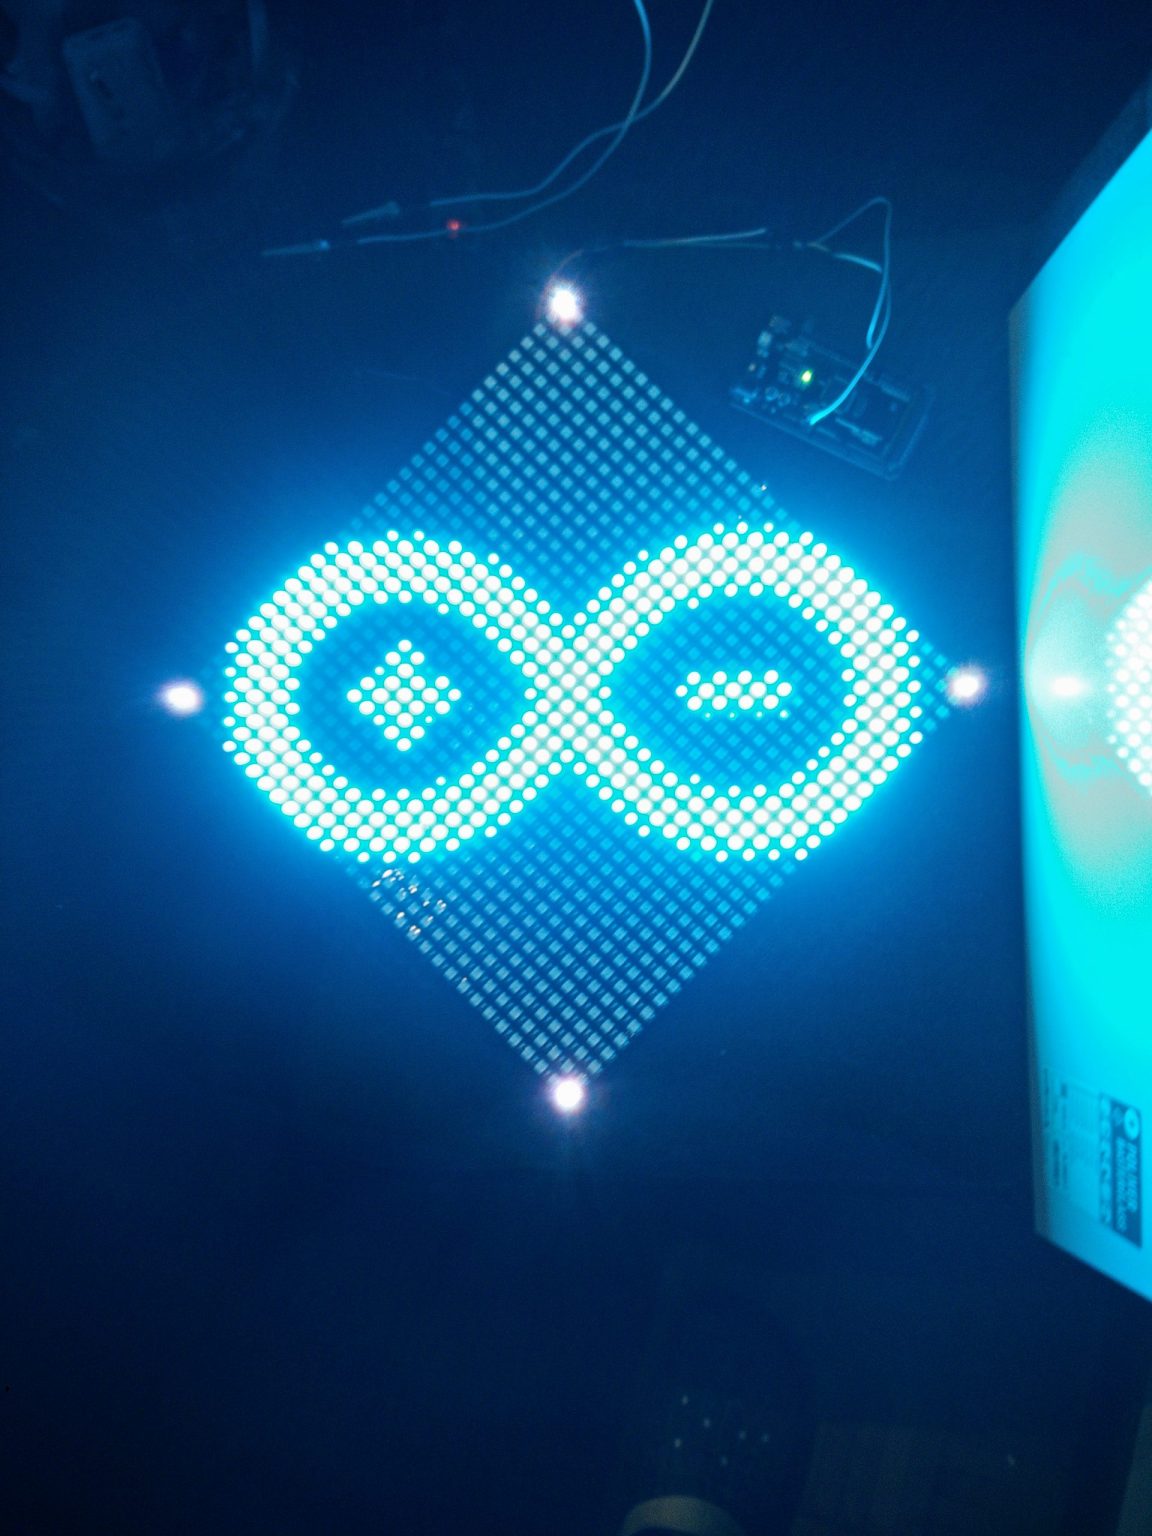
One of the two devices I designed had the purpose of explaining how an Arduino collects a stimulus and turns it into a reaction. Press a big button and see the Arduino logo appear on a LED matrix. Simple but still a little challenging: to get a decent graphical representation of the logo I had to rotate the matrix by 45 degrees, maximizing the size of the logo displayed. A hidden Arduino Mega was sending the image to the matrix of 32×32 pixel, too big for an Arduino Uno to be managed.
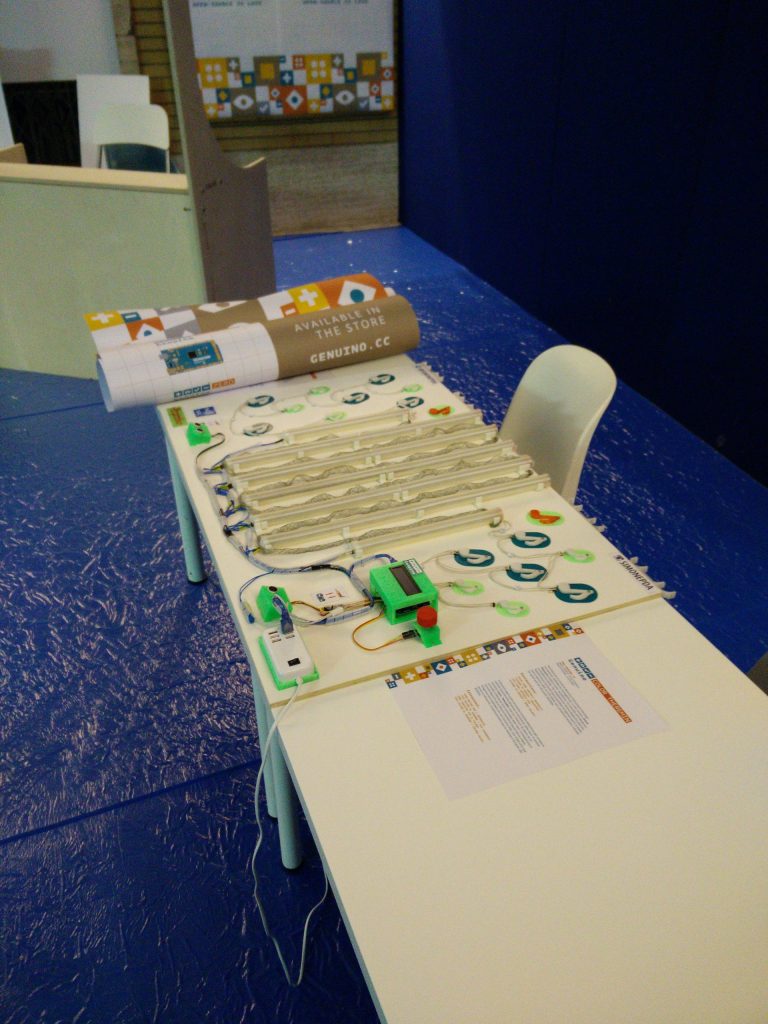
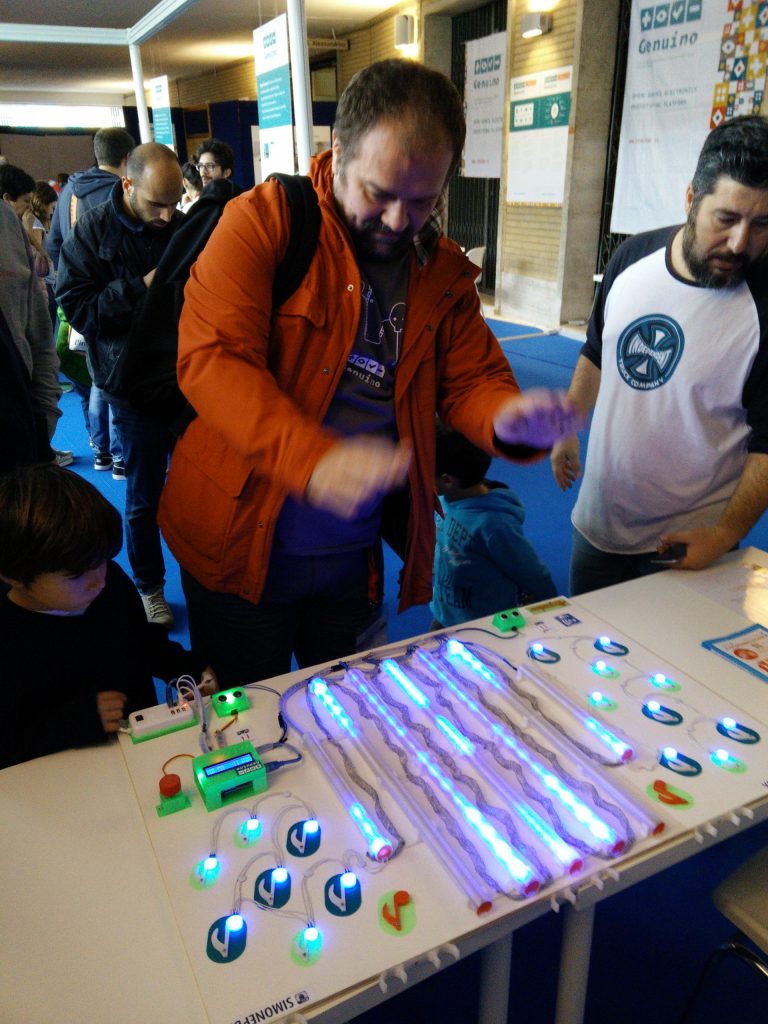
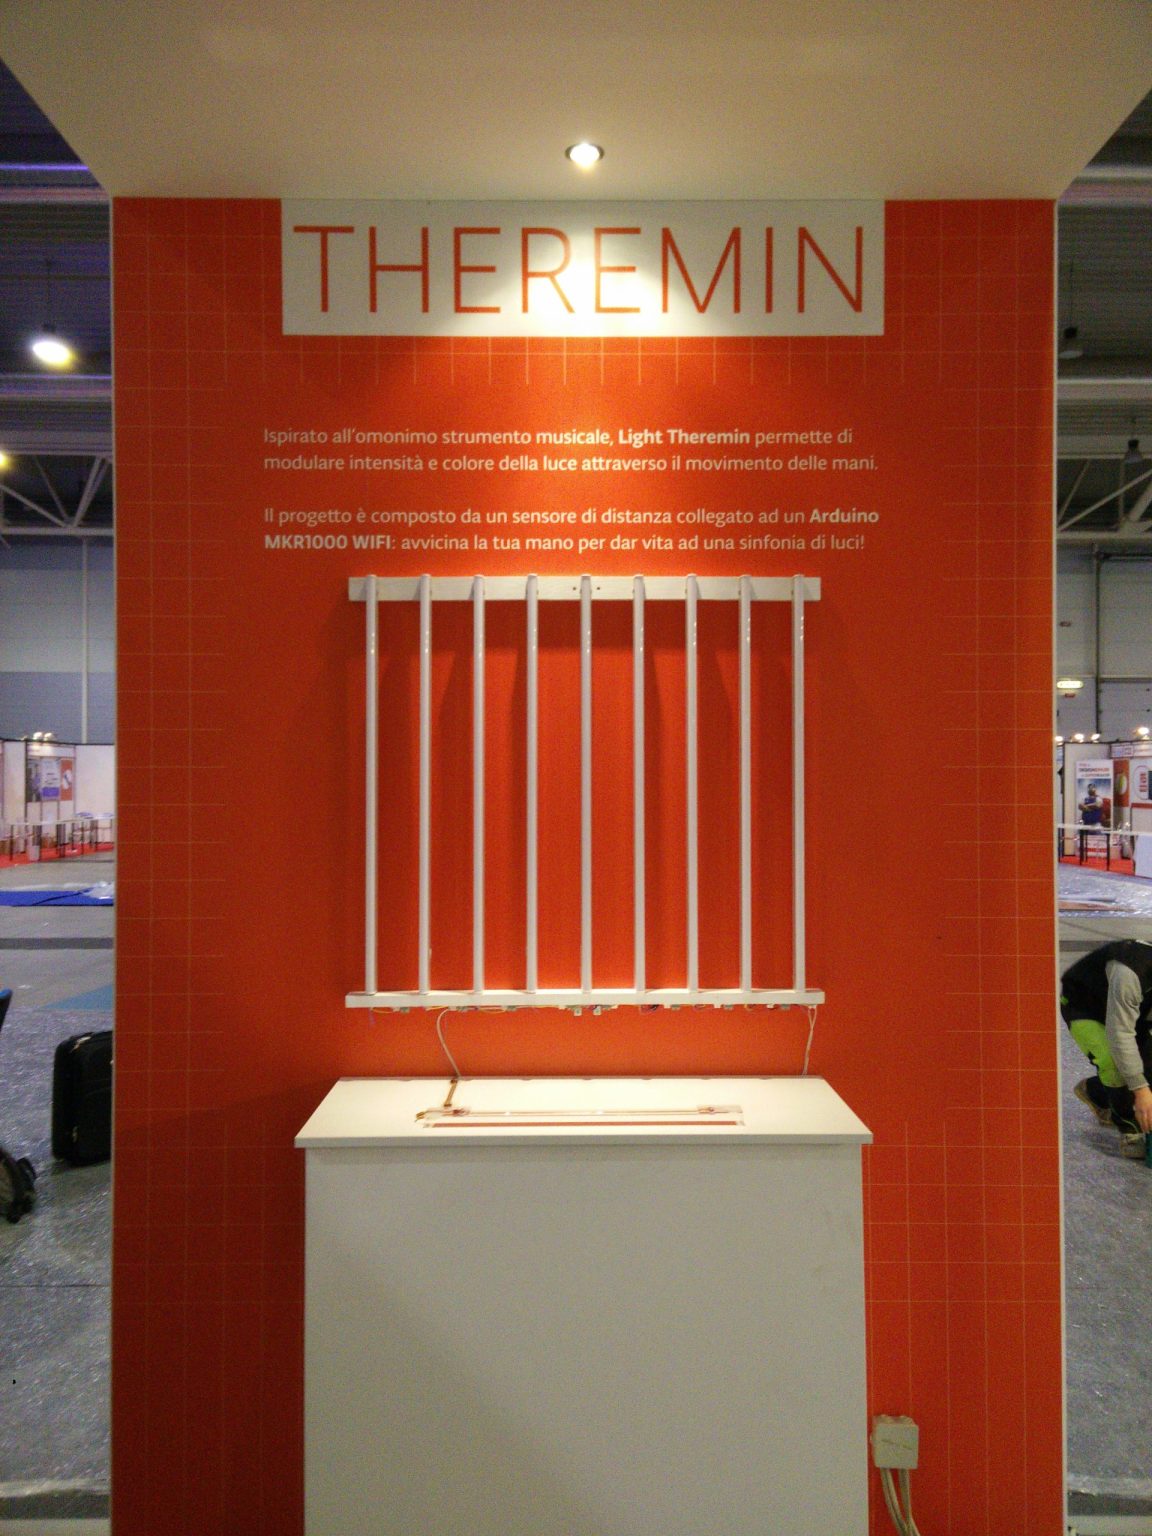
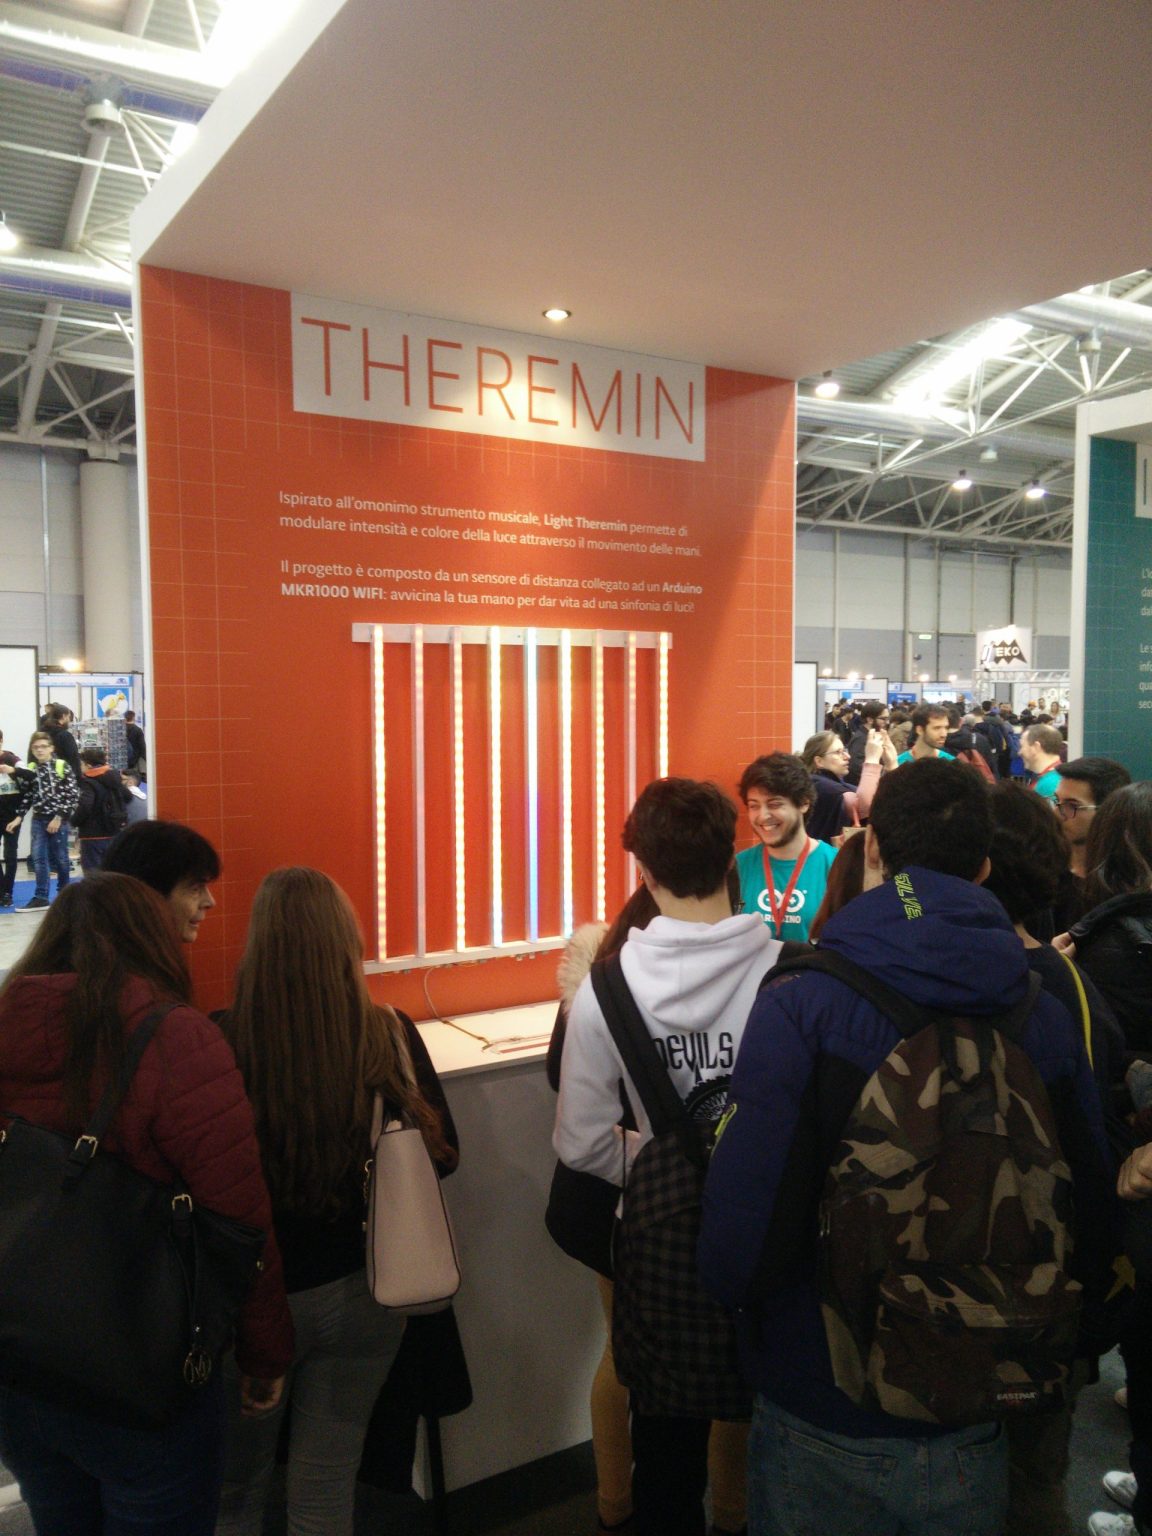
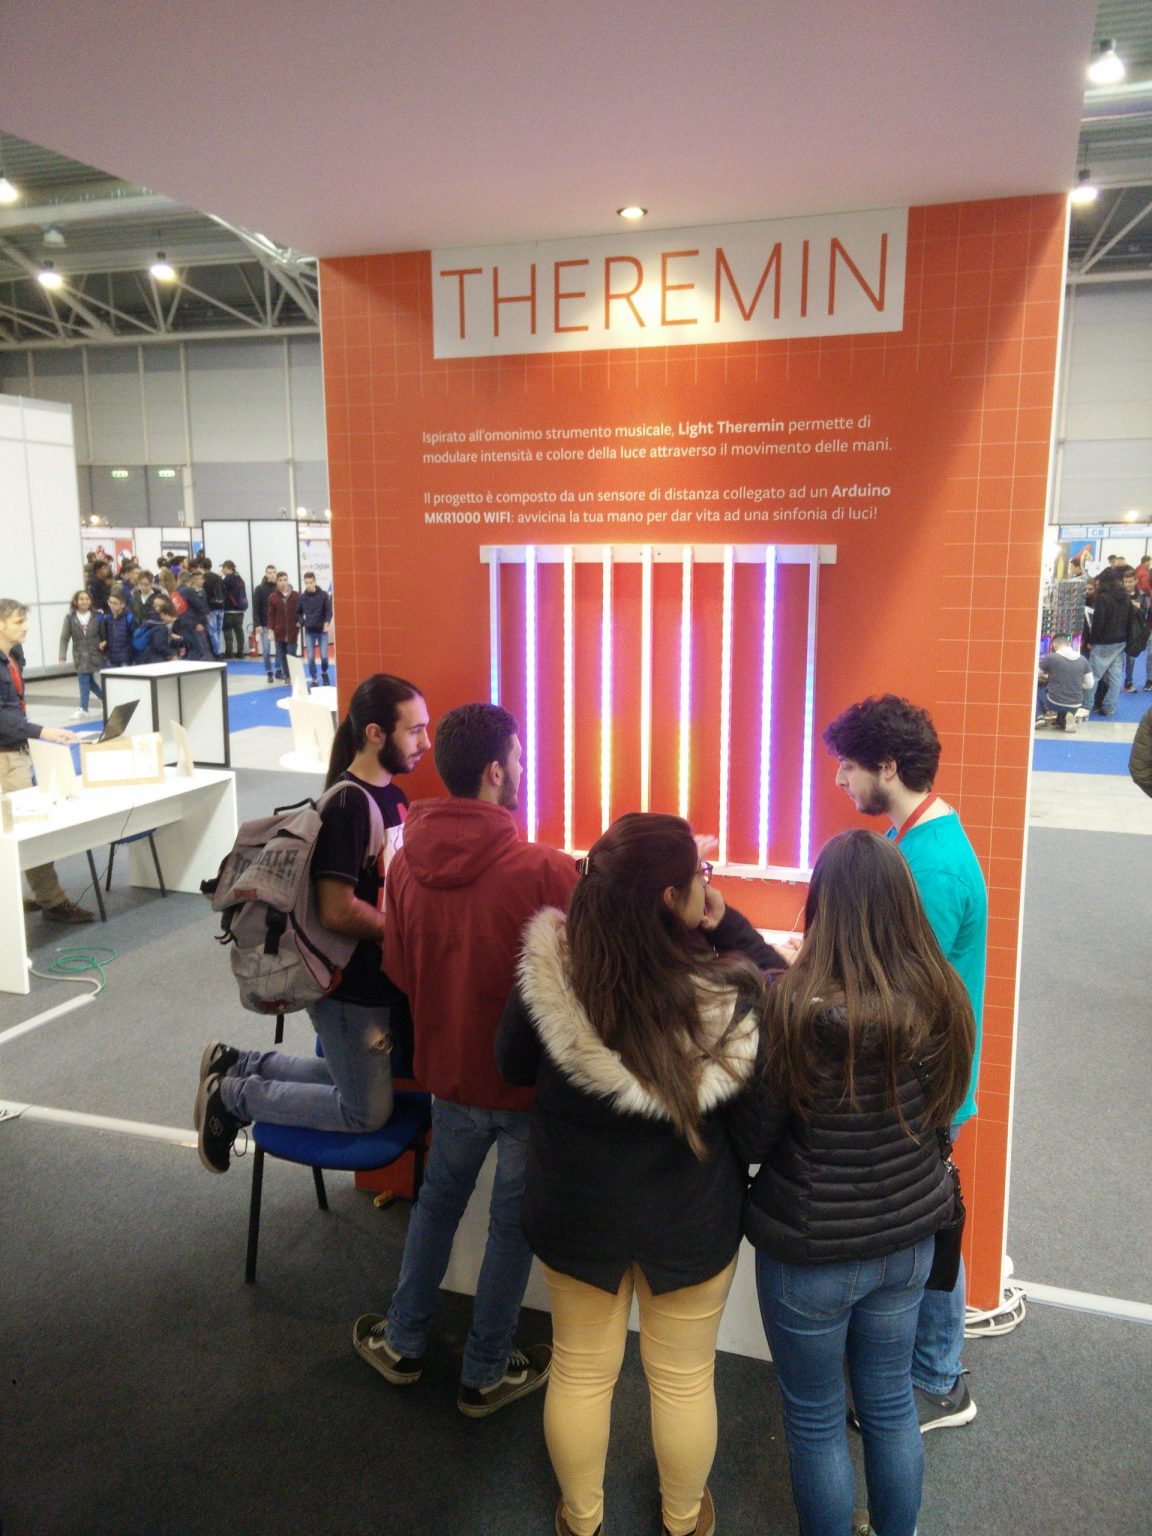
The other device was the new minimalistic version of Color Theremin: new and improved with LED strips embedded in standard LED lights and the amazing Laser distance sensors instead of the ultrasounds. The design was clean and mysterious when off but became mesmerizing when working.
I engineered the new version for easy transportation and very clean user interface: the light bars were locking on snap-fit clamps spaced on two wooden bars; these bars were the only things to fix to the wall. Wiring was also streamlined and everything looked clean and simple.
People literally queued to try it and it was one of the hot installations at the Arduino booth for 2017.
Last Maker Faire for me
2018 was my last Maker Faire with the Arduino Team. My plan to leave for Dubai was already in place and my last installation had to be somehow epic.
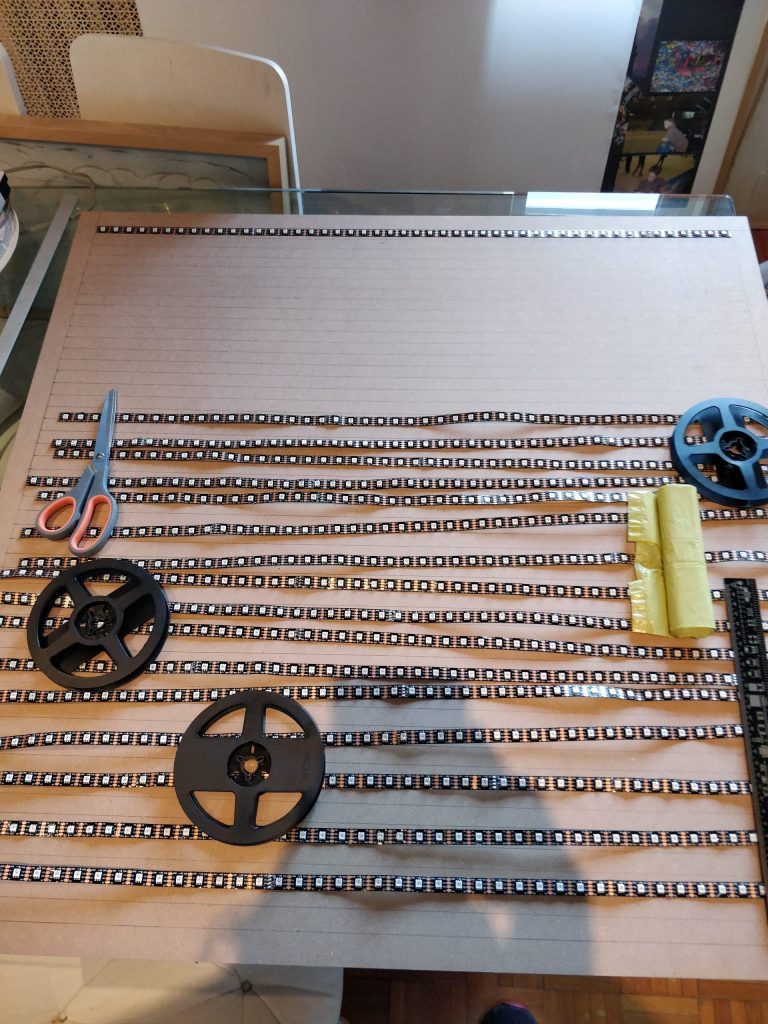
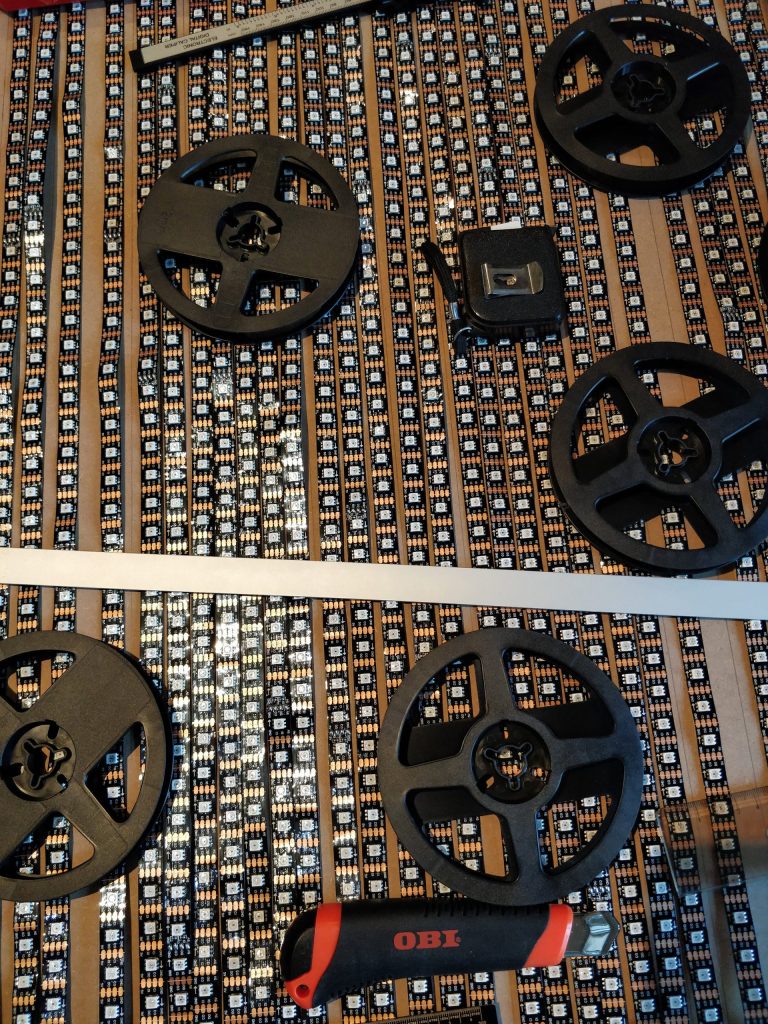
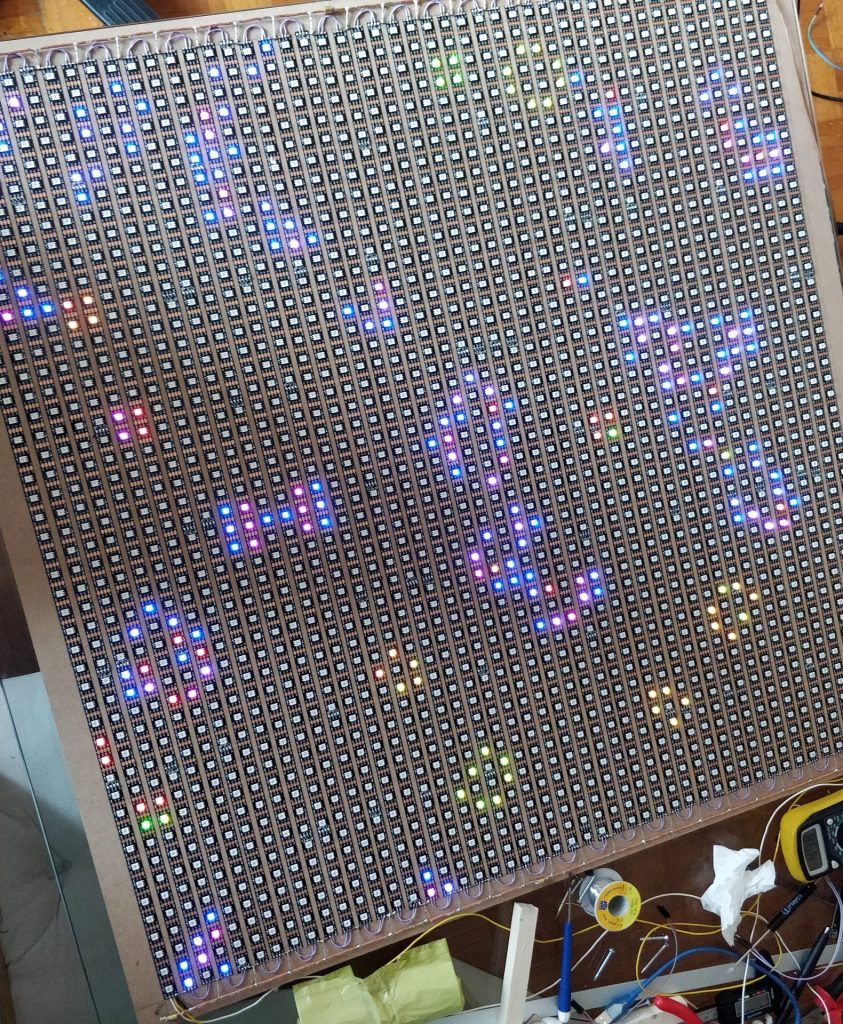
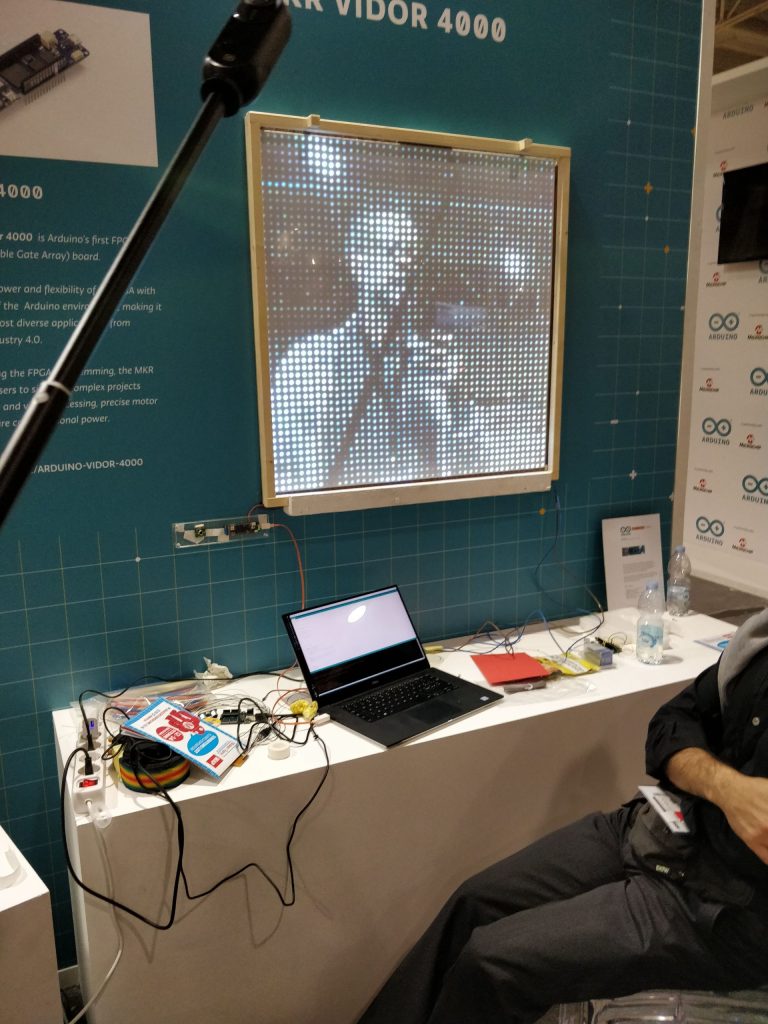
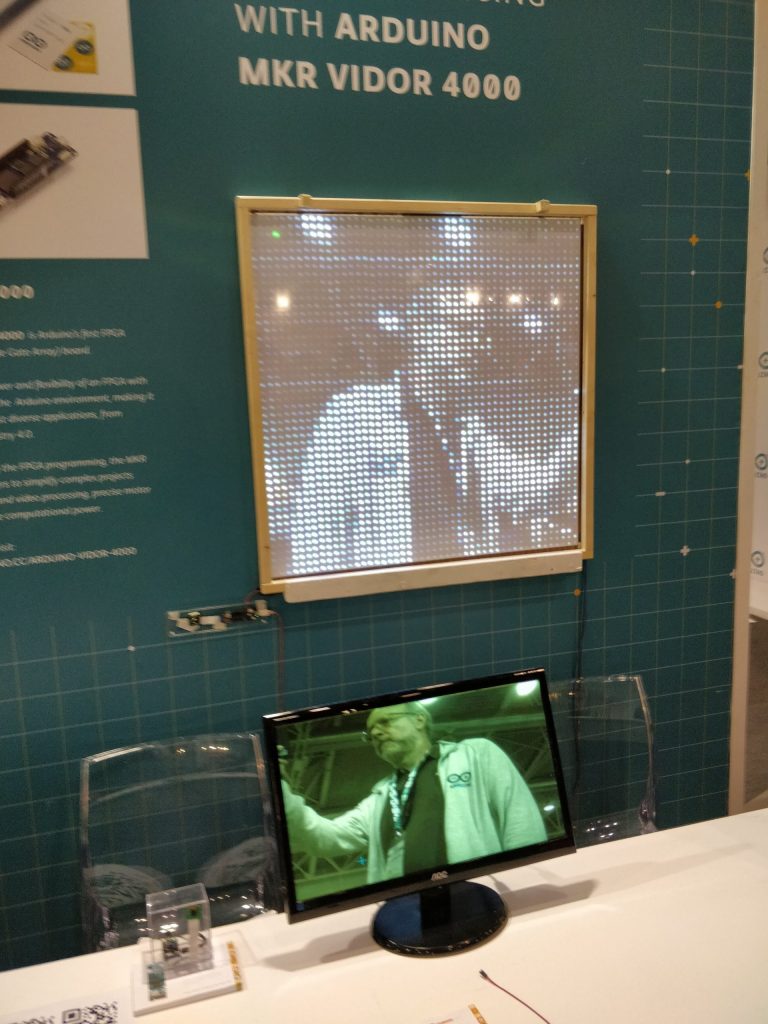
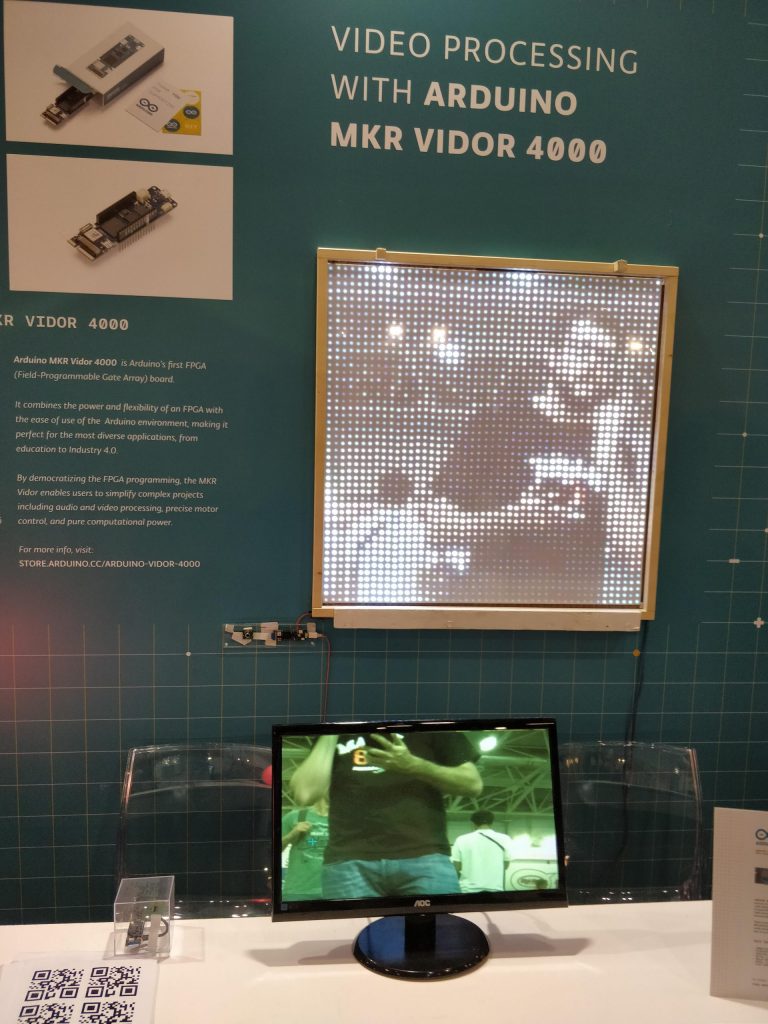
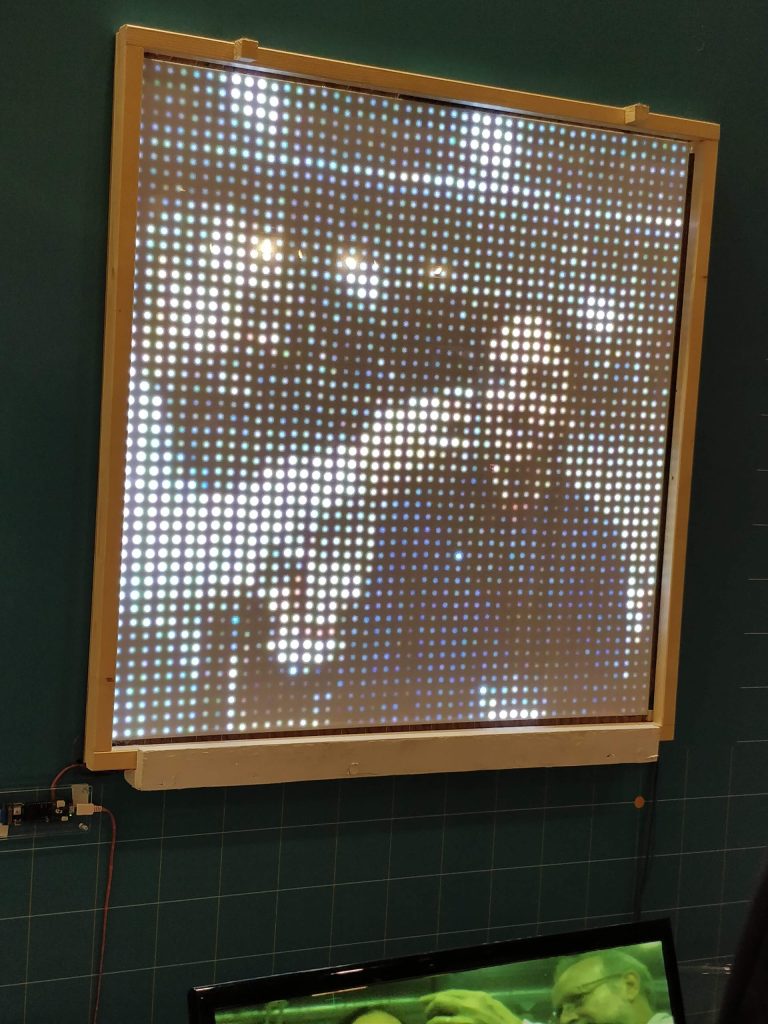
A new board was just added to the family, bringing the FPGA (Field Programmable Gate Array) technology to hobbyists at a very reasonable price and with great Arduino-style support. To show the muscles of this board, I teamed up with the firmware designers and developed a matrix of 48×48 SmartLEDs (2304 in total) with a relatively small pitch to create a big 1x1m display capable of real-time video rendering.
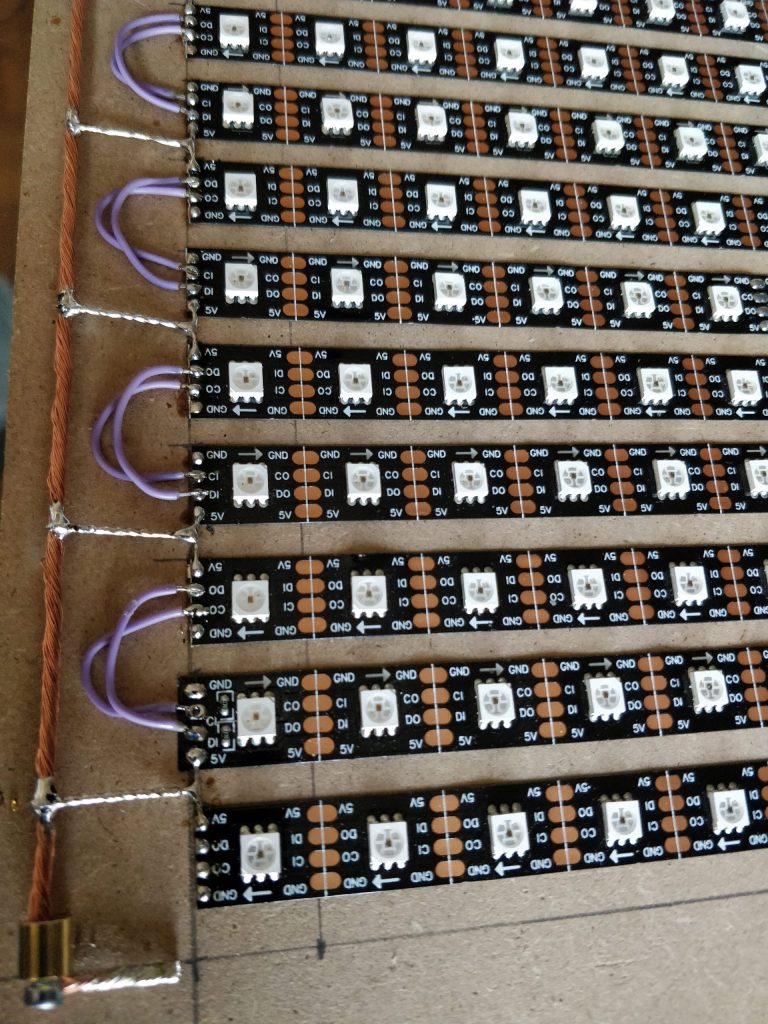
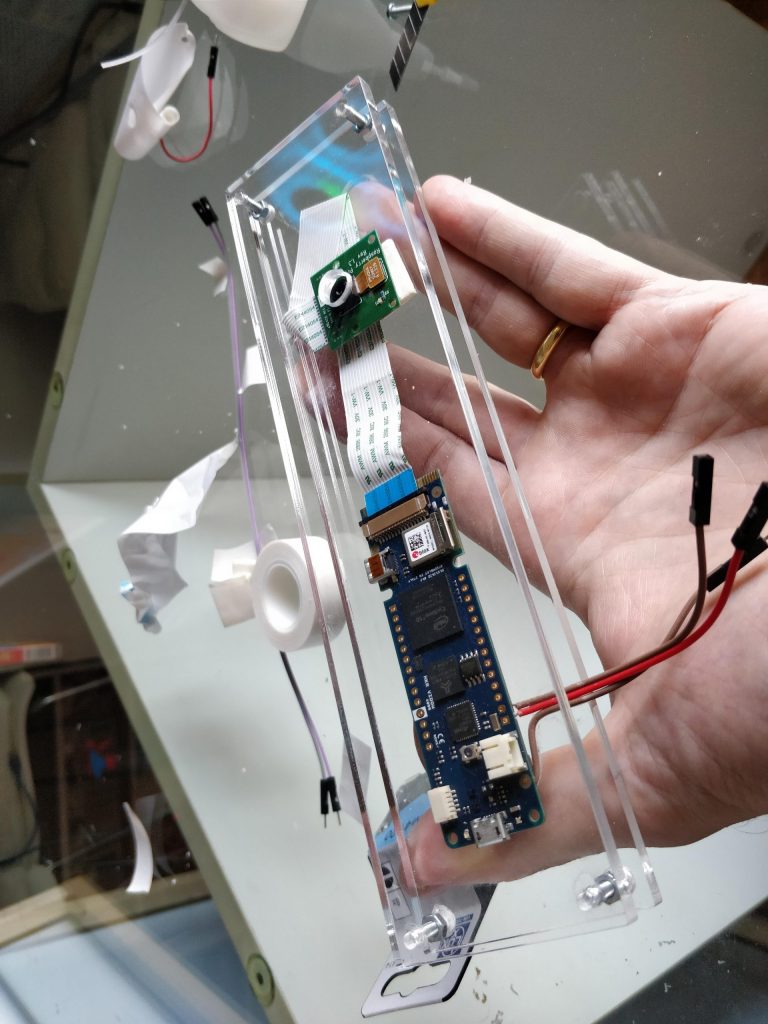
A standard Camera was connected to the Arduino MKR Vidor 4000 board that sampled the signal on a same size matrix and transferred the values on a memory bank that, in turn, would have been streamed to the led matrix with the proper protocol. The fabrication of the matrix was a long process, but the outcome was almost flawless.
One issue to address was the big number of LEDs, accounting for at least 6912 bytes of RAM; to achieve a decent frame rate on the matrix we had to go for better and faster SmartLEDs than the usual WS2812B. APA102 were synchronous SmartLEDs capable of high-speed communications and this was the final choice. Powering all these LEDs was another serious issue and I knew that only with proper power distribution I could get a stable and homogeneous color. The maximum current required by 2304 APA102 is in theory 138 ampere at 5V. That was way too much to be fed into the matrix, so some tradeoffs were to be made, like limiting the max brightness to 50%. A whole white display was also unlikely to be shown, so we took the risk of limiting the current available to around 50 amperes, with a 250 watt switching power supply. The wiring of all that current was made from two thick copper rails and very short connectors.
