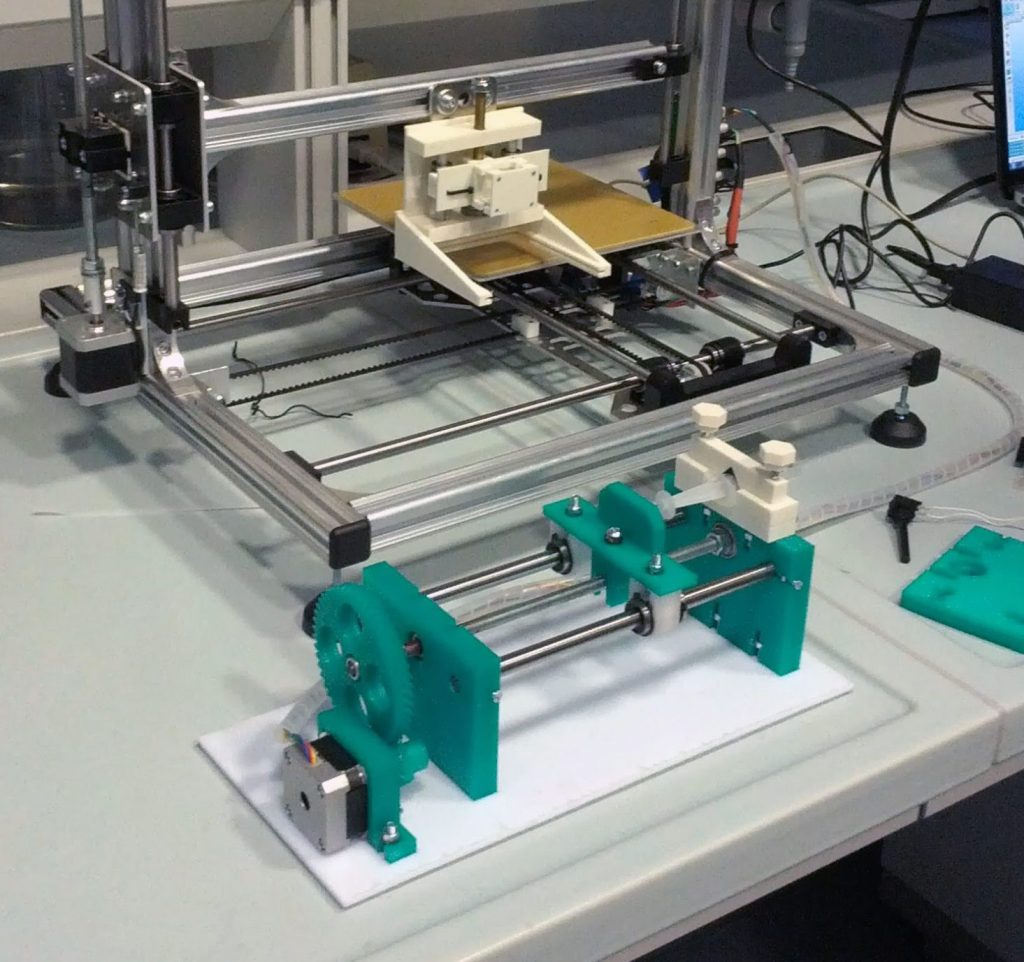
PiùLab Photopolymer spraying device
How to make an integrated micro dosing spraying device from a 3D printer.
Customer:
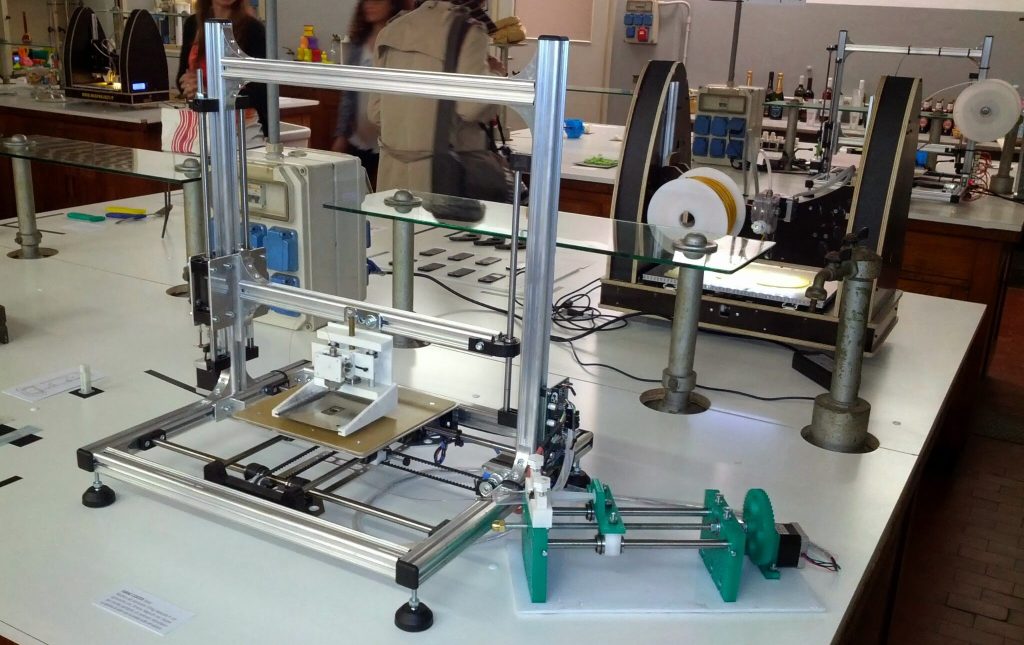
+LAB, the 3D Printing Lab of Politecnico di Milano and it is located in “Giulio Natta” building, together with Chemistry, Material and Chemical Engineering Department “Giulio Natta” .
Challenge:
The fabrication of a new type of polymer based solar cells required precise and controlled coating process. The positioning of a coating window and the delivery of the coating substance had to be controlled with great precision.
Year:
2013
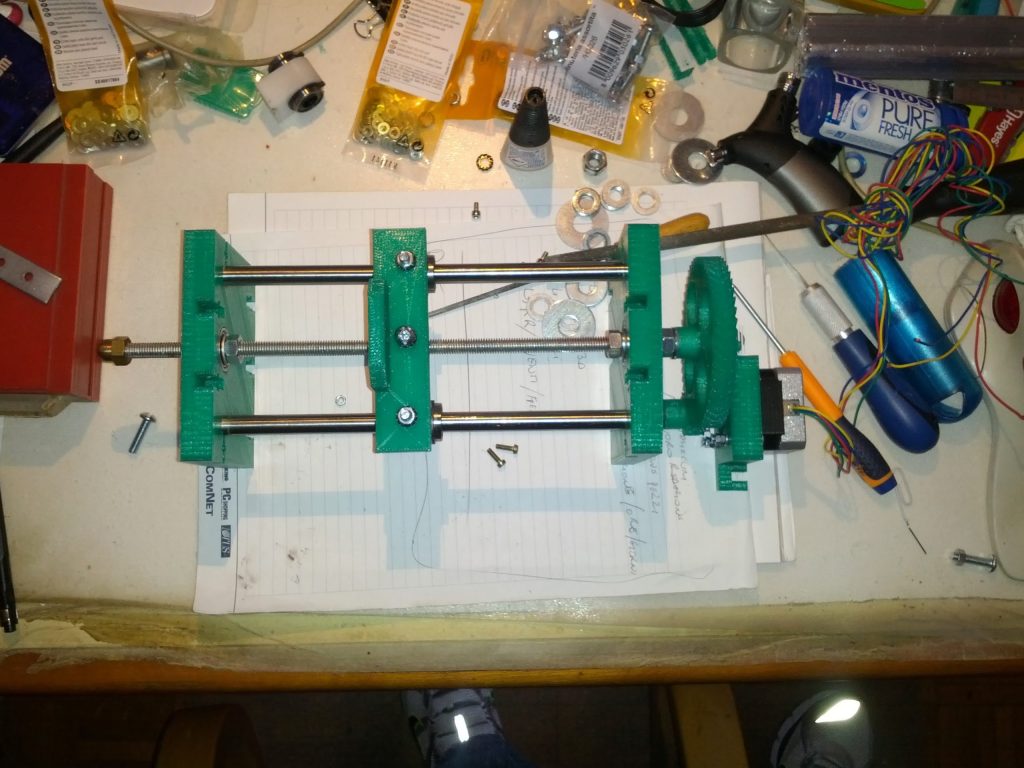
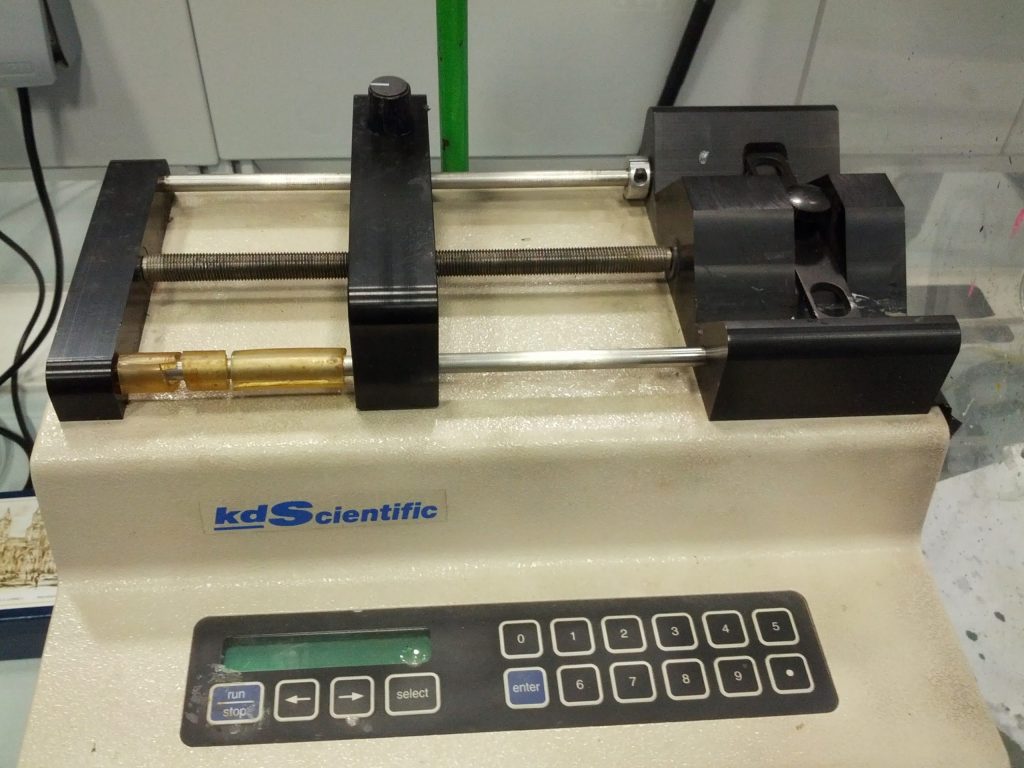
On the right an expensive and hard to control lab micrometric syringe pump; on the right a 3D printed micrometric syringe pump interfaceable with a 3D printer and controlled as the extruder.
The first project for +Lab
When Professor Marinella Levi decided to propose to some of her students to give birth to PiùLab, it was 2013. The 3Drag 3D Printer – a machine I co-designed and knew very well – was seen as a very promising and hackable machine. The design with a robust Z-axis arm and a X-Y moving build plate made any change in the extruder an easy task.
Some students were doing research on photopolymers to create thin and flexible solar cells. The coating of the substrate was done by hand and controlling it was a real nightmare. After a short discussion with the students, we agreed that the same hardware of a 3D printer could let them move with great precision the substrate and the spraying head. The amount of coating was controlled by a syringe pump, but the device was a standalone unit with programmable cycles. The polymer was fed to the spraying head from the syringe through a thin glass capillary tube.
3D printing the design
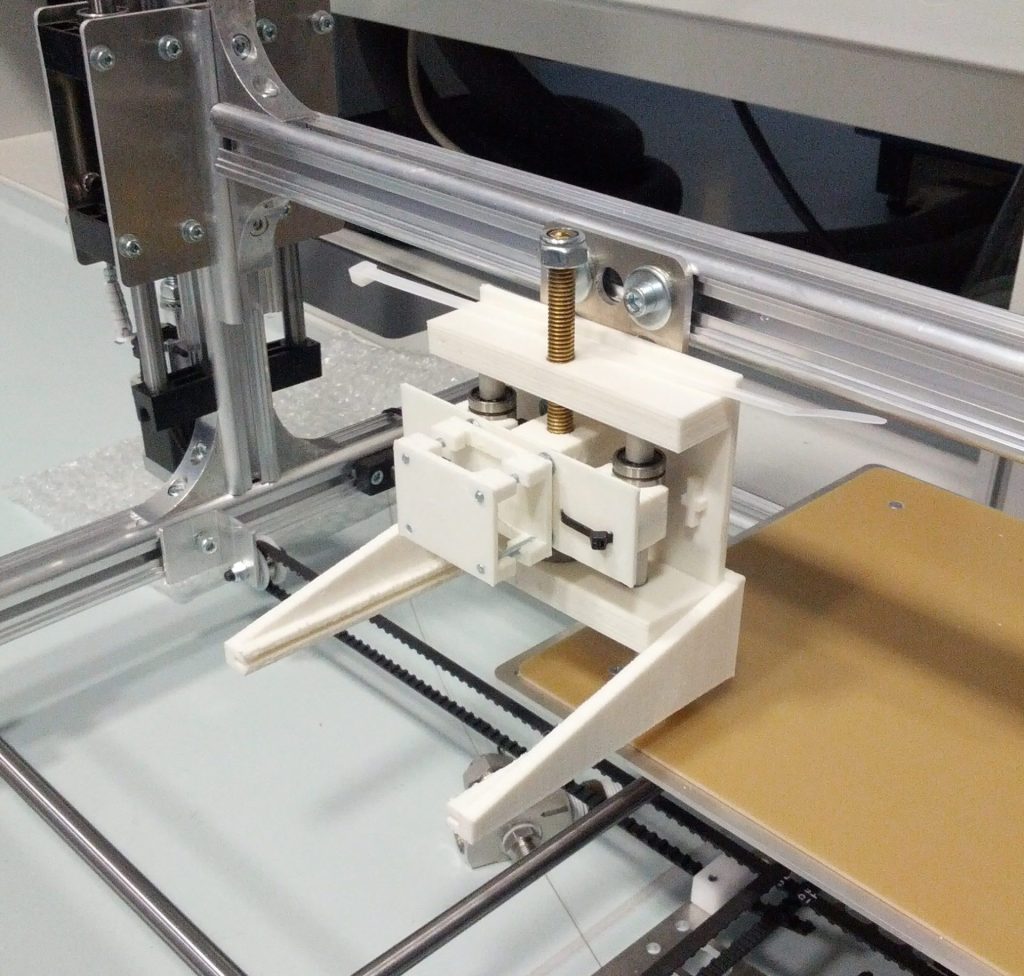
The spraying head was fixed to the Z arm with a custom 3D printed design. The cuts on the long base parts hold a metal mask with an aperture that slides in. The vertically movable block allows to create a precise distance between the nozzle and the aperture, a parameter that influences the flux. Still, all the head can be moved up, on the Z axis, to further control the coating.
Bushing on metal bars and a threaded rod allow very fine control over the positioning of all the elements involved in the coating process.
Gcode is the key
After the whole design was fully tested and assembled, driving the new machine was the next big issue.
Thanks to the clever integration of the parts, the students were able to create very simple strings of Gcode commands to move the substrate under the spraying head, start the air pump, move the head up and down and precisely control the amount of substance to be sprayed.
The interface was on a notebook, with a terminal connecting to the serial port of the 3D Printer Marlin controller board.
A successful hack
The flexibility and simplicity of the 3Drag design was a key factor in the transformation of a 3D printer into a precise coating instrument. My knowledge of the printer was a key element in the process, but the real innovation was the opportunity of designing any part with any shape and get it 3D printed in hours. In 2013 that wasn’t such an obvious thing.
